

Covering the Basics of astro photography
Most of us have more than likely seen those Astro photography photographs with bright stars and a sharpened Milky Way that make you take a second look with wide eyes and say something along the lines of; “wow, how the heck did they do that?!”
Though quick to believe that some of those shots could just be the product of some professional post-processing. It is actually a lot easier than you might think (yes even with a simple kit lens)! In this article I am going to detail some quick and easy steps to get the most out of your astro photography no matter what level you are, so strap in for a quick couple of minutes as we cover all the basics you will need for this practice.
Choosing Your Mode for astro photography
If you are familiar with photography then you more than likely will be familiar with the terms ISO, shutter speed and aperture. In order to properly utilize your DSLR at its most efficient for Astro photography you will need to switch your camera to manual mode to give yourself the most control over these settings.
Aperture
First things first with the settings lets talk about aperture shall we? Your aperture (or f/stop) for astrophotography should be about as wide as your lens allows it to be. For a standard kit lens you will more than likely be dealing with a number around 3.5, the general rule of thumb here is the lower the f/stop the better. See, told you the rules would be genuinely basic!
ISO
Next up would be ISO, ISO gets a bad rep for being the forgotten one of the three primary manual settings to adjust in manual mode. Don’t be fooled though, for Astro photography ISO is as important as anything else. Too much ISO and you will be left with a grainy mess, and too little and your beautiful subjects (the stars) will not show up. A typical rule in Astro photography is to start from ISO 1600 and gradually adjust it up as needed, this depends on things like ambient light, what time in the night it is, if the moon is out, so on and so forth. To put it simply though, just tinker with this one moving it up a bit each time and you can’t go wrong!
Shutter Speed
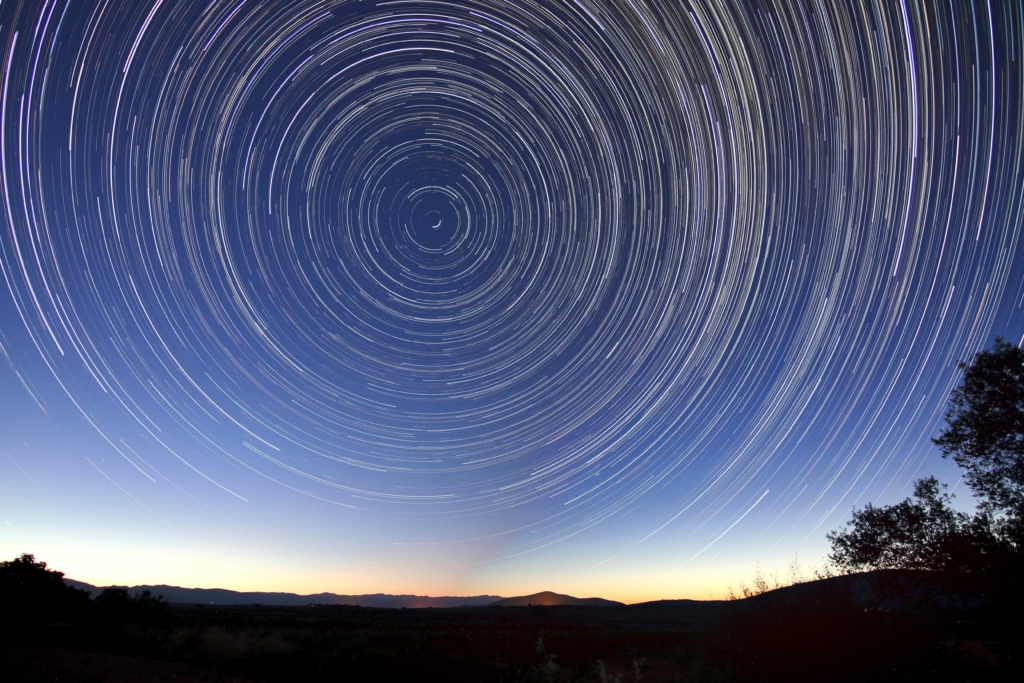
Last of the three would have to be shutter speed. This will be categorized into two different sections depending on what you’re going for. Different photographers always seem to have a different rule for this, but again, it comes down to tinkering with the settings within a certain range. So if you have the rough estimate, give or take numbers you’ll be all set to go! Personally, I find that starting at 20 seconds will be more than enough to capture the stars and Milky Way. Most of the astro photography shots that I have gotten are from 25-30 seconds. Anything longer than that with “bulb mode” will cause the light trails I was referring to earlier. This can be achieved by using a remote shutter, or by simply using your self timer. As long as you aren’t physically holding the camera while the shutter records you will be golden.

Honorable Mention
White Balance will receive a brief mention as well, as you should stray away from using the auto feature just as in any form of photography. I have found that utilizing the “daylight” setting for white balance gives the stars in my astro photography far more “pop” than any other setting. Feel free to tinker with the white balance, just keep it off the auto if you can!
Focusing and Set Up
You are going to need to set your camera to manual focus and turn image stabilization off if your lens has it, typically these are found on the side of the lens. Once you are on manual focus you will need something to on. If you have a lens that focuses to infinity utilize this and it will take care of most focusing issues you might run into. If you do not have a lens that goes to infinity, as in most kit lenses, then you will have to find a way to focus the shot yourself.
One foolproof way to focus the shot yourself is to adjust your focus on some kind of light in your foreground. It could be a house lit up, a person with a head lamp, or even just a flashlight that you set on the ground to focus on. No matter what you’re using, you will need to focus on this light. The general rule of thumb is that for the best focus quality with a standard kit lens you will need to be about 20 feet away from the aforementioned light you are trying to focus on. Crank the manual focusing dial until the light in your foreground is the clearest, and snap away!
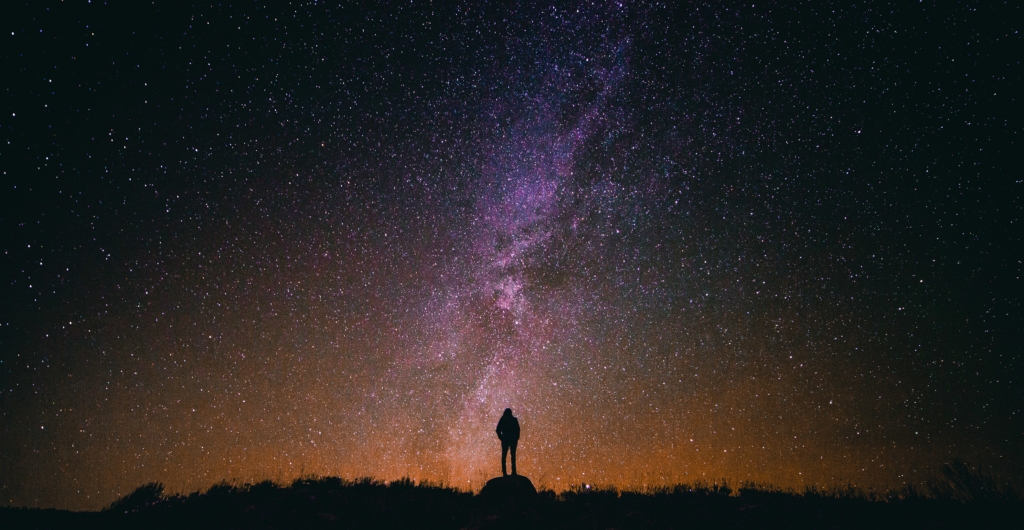
Find the Elusive Milky Way
As many astro photographers might tell you it is sometimes more elusive than you might think! The Milky Way shows up best when you are in the darkest part of the night when it is moonless, and when you are in the middle of nowhere without ambient light surrounding. Having the Milky Way in your astro photography makes a world of a difference, no pun intended. Your image will go from some bland star shot to wow your friends and family by simply being able to locate the Milky Way.
Sometimes the naked eye isn’t enough to spot it, and for when that happens there is a multitude of star tracking apps out there on the market for both iPhone and Android. My personal favorite being StarTrackerLite, it’s simple, free, and you can observe the different galaxies and solar systems.
Invest in a Tripod
If you want the best possible astrophotography, then investing in a sturdy tripod is the one additional piece of equipment that is truly essential. Imagine you are in perfect position, have your settings all good to go, framing is set up and you’re focused in, go time. All of a sudden a gust of wind comes up and your flimsy tripod goes down, you’ve now lost your setup and your camera might’ve taken a ding or two itself.
This is not something that should be overlooked. Take it from me, I started out shooting with a flimsy $20 tripod, and this scenario happened more often than I would like to disclose, it is to be avoided if possible.
Remote Shutter or Self-Timer
For those of you with cameras that have sensors capable of utilizing a remote shutter, these things are cheap and worth their weight in gold. You simple point the remote at the front of your camera’s sensor from a distance and it will trigger the shutter. Of course for those without this luxury, a simple self-timer of 2 or 10 seconds will still work.
Either way no matter which option you choose to use, it is not optional, you must use them. You cannot simply press the shutter manually when using long exposure or else your shots will come out blurry and out of focus. Any small movement like touching the shutter manually will create enough of a disruption to throw your camera off. So if you are serious about getting those clean, sharp astro photography images then you must learn to utilize one of these.
Remote sutter
Top raed camera for astro photography
2nd Best Cameras for travel and astro photography
There you have it! Some easy to follow ways to make the most of your astrophotography to be able to get out there and capture that astonishing Milky Way shot! Follow these quick and easy steps and you will be wowing your viewers with your astro photography in no time! For more tips on shooting at night you can find them here.
HOW TO PHOTOGRAPH A SOLAR ECLIPSE
About Antonio
Antonio Cuellar is a commercial photographer who specializes in capturing the architecture and lifestyle of the world's most luxurious hotels and resorts.
Follow


Recent Posts
-

The Art of Precision
02 Des 2020


