Landscape photography tips
Landscape photography tips for every Level
Taking a good photograph is an art, aspiring photographers know this. When capturing landscape photographs, usually there are no moving objects, so you should have the perfect amount of time to capture the vista. However, it doesn’t always work that way, timing is everything. In this article, we will provide Landscape photography tips which will help you capture your desired landscape. Occasionally, if you have visited a place of natural beauty you wonder why the picture you have taken doesn’t capture the majesty of that time and place. We will help you improve your technique by offering some essential tips which will allow you to shoot your landscape with perfect precision.
Wait for the golden hour
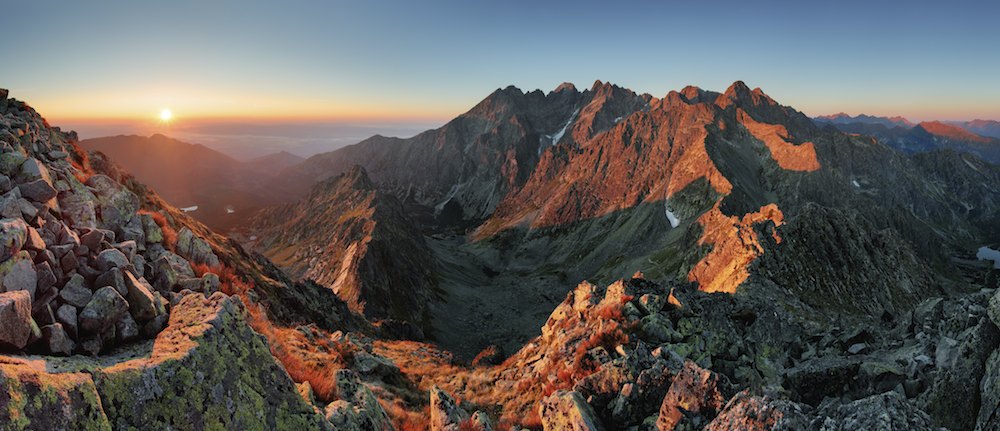
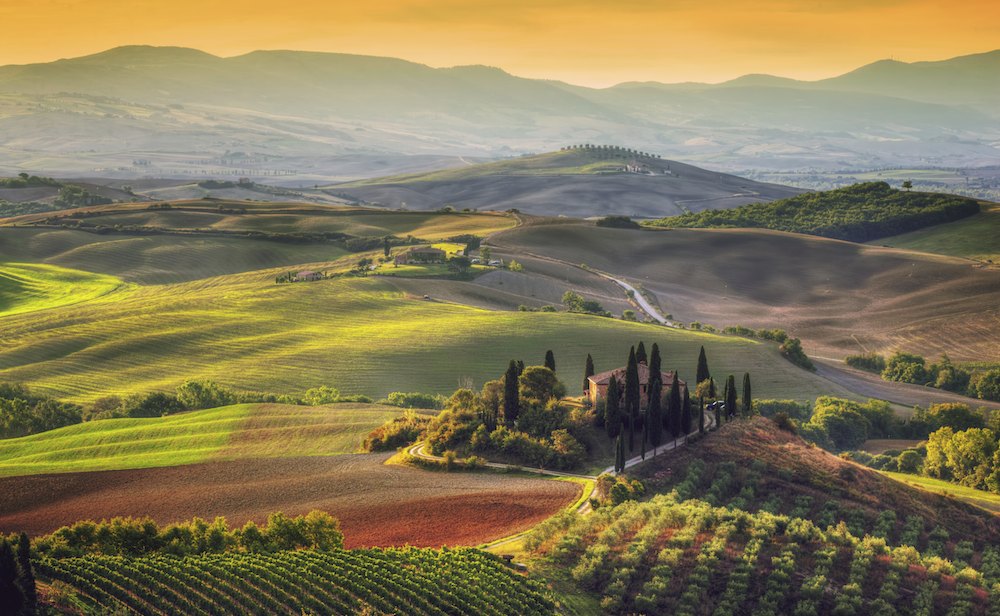
With landscape photography, there are two important times of the day which create the most dramatic visual effects on the photographs. These are early in the morning during sunrise, and late afternoon when the sun is about to set. These hours provide a distinct color on the landscape and even sometimes on the cloud formations. If you would like to add some depth of composition to your photographs, wait for the golden hours. So, to sum up. Our first landscape photography tips is “dont be lazy” and set up your alarm 30 minutes to an hour before sunrise to capture a better image. 90% of other tourist will not do this so this means that by just doing this, you image will probably be 90% better than the rest.
Pick the essential landscape subjects
There are several subjects to choose from for landscape photography. One of them is flowing water – waterfalls and rapid rivers are a good example. You can place long exposures on your camera which provide a “milky” appearance on the flowing water. Another subject you can work on is the forest, the vibrant and wide color range which woodland or forest areas can provide ensure you achieve the best depth of field from each photograph you shoot. To add more appeal, you can take your photos within the golden hour of the day or wait for the spring season where flowers and leaves are in bloom or even during autumn when burnished coppers and chestnuts come to life in the leaves before they are about to fall. This landscape photography tips is a good segue to my next one which is the use of a tripod.

Use a tripod.
If you are shooting landscapes, make sure to bring along a sturdy tripod. You can still take great landscape photographs simply by using a point and shoot method, however you will be restricted to the image the landscape provides you at that time. You won’t get the opportunity to move around as much and the photos will tend to be overexposed or underexposed. By using a tripod, you can achieve longer exposure times (which are essential in landscape photography), that way you can capture more dramatic interludes such as flowing water or moving clouds. Use a tripod that allows external weight addition to prevent your camera from shaking when taking long exposure photos. If it becomes windy during your shoot, then you are also prepared. Since we already established on our first landscape photography tip that the best time to photography is with low light at sunrise or sunset, not using a tripod can force you to use higher ISO or to shoot with a wide open aperture. Both of this options are detrimental for the image.
Try to employ the rule of thirds
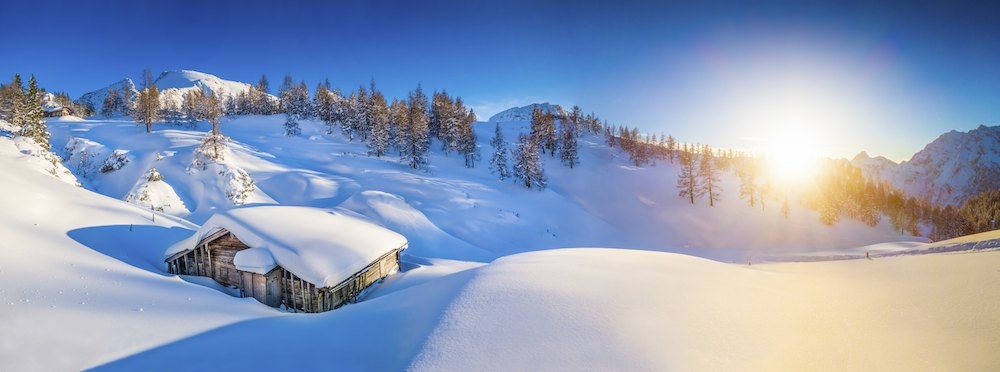
Taking landscape photographs can be tricky. With a vast amount of scenery to capture, it can be disappointing when some images don’t look as appealing when taken as a photograph. A way to counteract this is to avoid taking landscape photographs where there are too many interesting subjects. The viewer can get confused as to the focal point of your photograph. Minimize the subjects of interest and focus on one standout image, aim for the most interesting and take into account the rule of thirds. I should’ve probably been my first landscape photography tip and if you don’t remember any of the rest, at least remember this one. The rule of thirds consists of placing the horizon on either the mid top or mid bottom line on the exhibit 1. (please also see the other images on the post so you can relate). Where you place the horizon is relevant to what is more important on the image. a beautiful sky would probably dictate that 2 thirds of the sky should be sky and a beautiful foreground would dictate 2 thirds of the image should be foreground. (Much like all the images in this blog post). The second thing to consider with the rule of thirds is where to place the main subject. The main subject should be placed in one of the black dots in the exhibit. Very rarely would you ever place a subject on the middle of the frame. Photographing a reflection on a lake comes to mind as to when to break the rule. If you are to forget about the other landscape photography tips, please remember this one.
The use of filters
Landscape photography is all about nature, and nature can sometimes be unpredictable. This is why experts invented filters – to allow for any eventuality. There will be days when the skies are overcast and you can hardly see your intended subject. Filters are necessary to help you balance the lighting between your background and foreground. You can also use graduated filters, where one-half of the filter has an f-stop filter and the other is a normal one. Play along with the f-stop filter until you balance the amount of light that you would like to suppress and balance. Use polarizing filters to create clearer texture for subjects such as clouds or the leaves. Also think about using an ND (Neutral Density) filter to take long exposure photographs in daylight too, this will add more dramatic effect to your photos, such as making water “milky” or the moving clouds “silky”. A UV filter will also do help, especially when wish to take photos in broad daylight. Nothing beats talking a great photograph straight from the camera, but out of all the landscape photography tips this particular one has lost importance since the advent of Digital photography and most of the effects can be added in post production. Just make sure you end up with a great RAW file. Avoid shooting JPG’s
Be prepared
Think about your camera gear and accessories, always bring back ups of your accessories as landscape photography keeps your camera working for long periods of time. You should bring spare batteries (not just one) as long exposure capture takes time and that can eat up your battery usage. As with all long exposure captures, you will require a larger amount of disk space, it is wise to bring along a spare just in case. A disk with a faster writing speed is also a plus, as cameras tend to process longer for landscape photographs and it is dependent on the writing speed of the card. Bringing along more than one lens is also important. Landscapes are usually best captured by a wide angle lens, a different perspective or composition of the same location/subject by using a different lens is also a welcome option. Sometimes it even turns out better than your wide angle lens capture.
Depth of field
Landscape photographs are usually shown with several interesting subjects within the frame. And it is much more interesting if they are shown with clarity and sharpness. To be able to capture clarity throughout your photography, ensure you use a smaller aperture setting on your camera while taking your landscape photos. Typically, an f/11 aperture setting would suffice, but don’t be afraid to decrease the aperture size so it suits your requirements. Bringing a tripod was one of our first landscape photography tips. Hopefully its beginning to make sense why. Smaller apertures require a longer shutter.
Use lines and a good foreground
There is usually always more than one interesting subject in a landscape photograph. How do you lead the viewer to look for the subject which you want them to focus on? You must use lines, this can, for example, be a bridge railing or a wall. Compose your photo in such a way that these lines create a pathway for the eye to seek out the subject. Look for a good foreground to focus on, as this can also be the first subject a viewer will see. Directions of natural light such as the sun or the moon are also an important part of your photo so be sure to take note of it and where it will be at that moment.
Patience
Patience is key when taking landscape photographs. Wait for the right time of the day to create a more picturesque composition. The right weather condition of the composition can make or break your photograph, and most of all, be patient when looking for the right composition for your photo. Keep walking/hiking and adventuring to look for the best vantage point. When shooting landscape photos, the higher vantage point is usually the best vantage point. Sometimes you may visit the place you want to capture more than once, elements may be unfavorable the first time you visit. So be prepared and plan ahead.
Know your camera
As mentioned earlier in the article we won’t discuss how to use your own camera’s settings as we like you to give you freedom to explore your camera and discover its own capabilities and even its limitations. Read the camera’s manual if necessary, you never know if the camera function you need is right there awaiting your discovery.
So there you have it –essential landscape photography tips. Please keep in mind that these are just tips, the best teacher is still yourself exploring the outdoors and discovering new options and settings to create your perfect landscape photograph. These are just guidelines – do not be afraid to take action and trust your instinct. We mentioned earlier in the article, photography is an art so let your creativity flow. Be inspired by the work of others and take the necessary advice and tools in order to improve your own work. Follow this advice and you will be creating fabulous landscape photography in no time at all.
About the author:
 Marlon Calabon is a landscape photographer who likes to chase the sun. He is a sucker for colors and satisfies that thirst in capturing photos of the sea, the forest and farm lands.


